I grew up off pop-tarts. Seriously, I ate so many that the doctor told me to lay off them because I was getting so many headaches from too much sugar, haha. I know I had a problem. Well thankfully I’ve learned that I really cannot eat pop-tarts very often instead of constantly suffering, but I do get the craving so often! And now that I’ve learned whats really in the real pop tarts I’ve searched for a homemade version and came upon this one by Half Baked Harvest! I do want to repost the recipe because there were somethings that I wish were a little more clarified and to really share it doesn’t take 45mins to make these guys. 😉
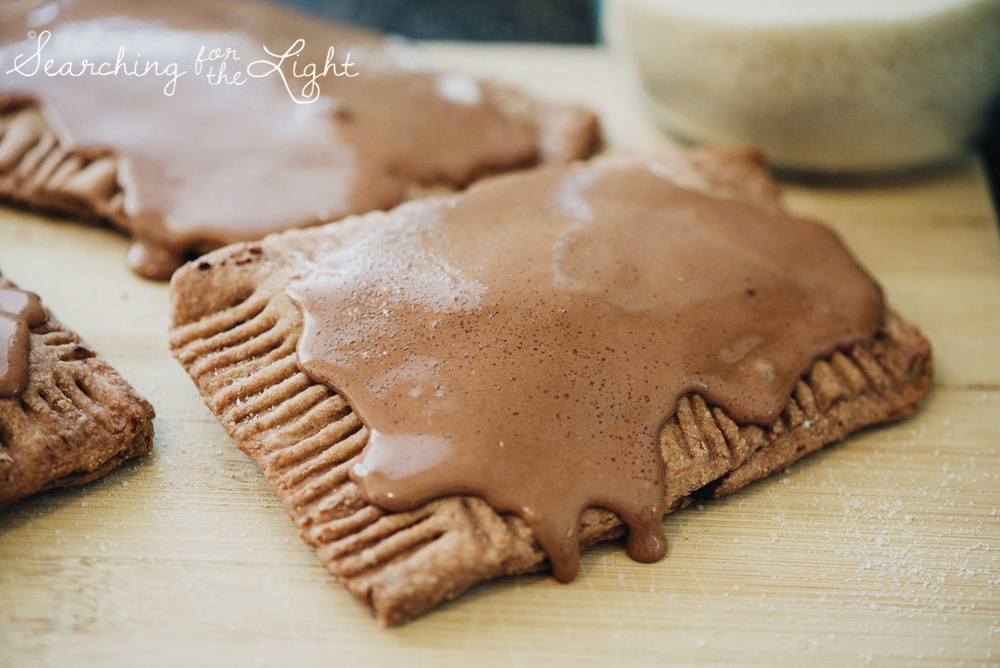
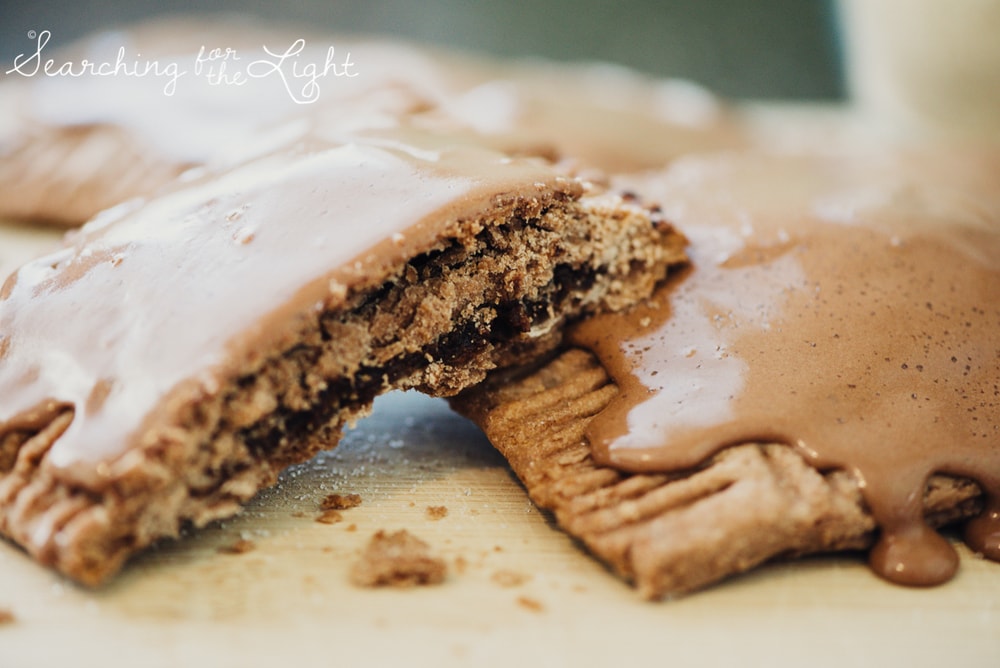
So here are some that I made, that were GIANT because I misunderstood the recipe. But they were delicious and I ate them all…every single one by myself. 😉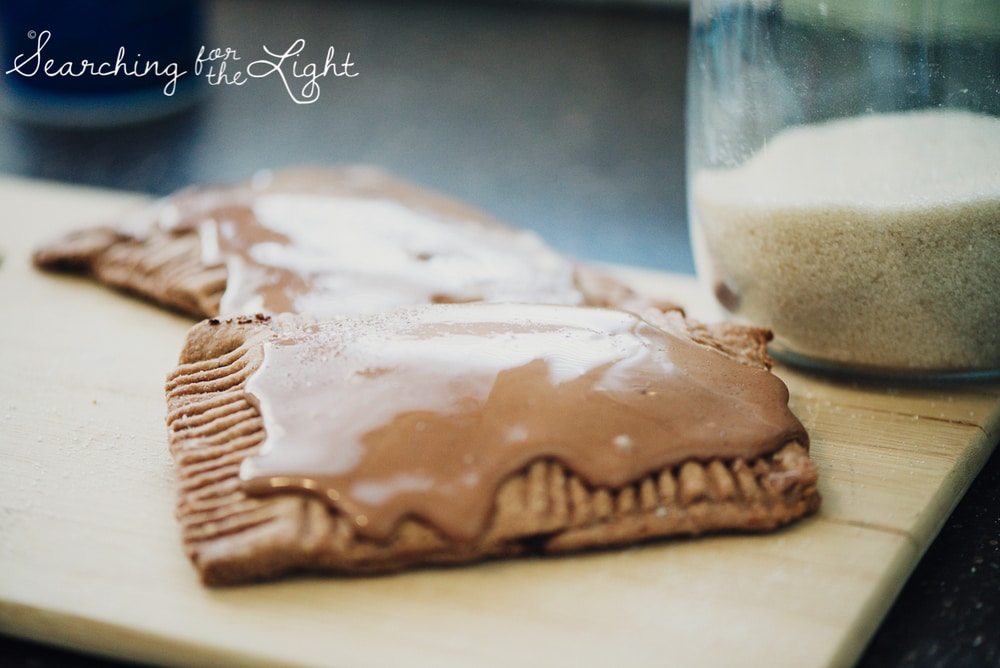 homemade chocolate fudge pop tarts recipe
 homemade chocolate fudge pop tarts recipe
 homemade chocolate fudge pop tarts recipe
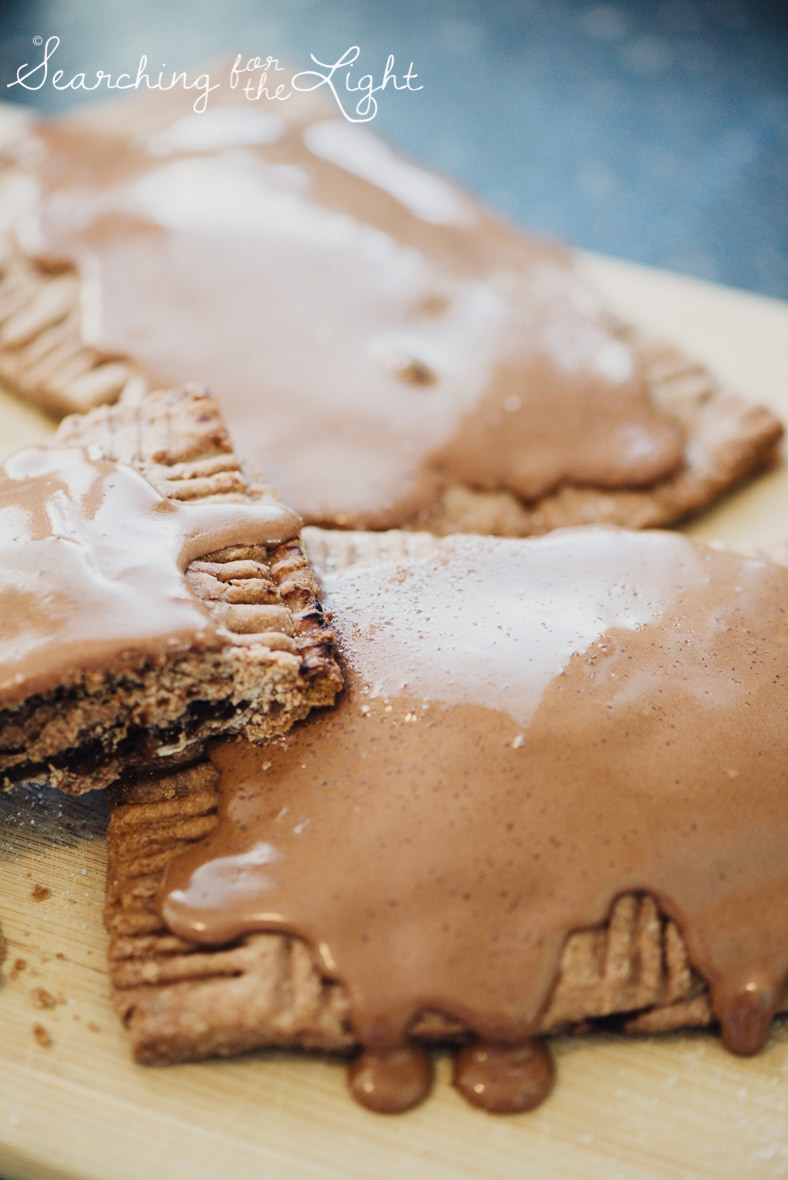 Homemade Chocolate Fudge Pop Tarts Recipe
Ingredients
- 3 1/2 cups flour
- 3 tablespoons unsweetened cocoa powder
- 1 tbps sugar
- 1/2 tsp salt
- 3/4 cup cold butter, cut into 1/2 inch pieces (make sure its cold!)
- 1/2 cup ice cold water
Fuge Filling
- 1/4 cup unsweetened cocoa powder
- 1/3 cup packed brown sugar
- 2/3 cup milk (the thicker the better but 2% is ok) or heavy cream
- 1/4 tsp salt
- 6 ounces milk chocolate, chopped (I used 1c chocolate chips with success)
- 2 tbps unsalted butter, cup into small cubes
- 2 tsp vanilla extract
Frosting
- 2 cups powdered sugar
- 2 tablespoons meringue powder (or one egg white)
- 1 tablespoon vanilla extract
- 2 tablespoons cocoa powder
- 3-6 tablespoons water
- 2 ounces dark or milk chocolate, melted
- coarse salt or sugar, for sprinkling
Instructions
Start by making the filling. In a small sauce pan mix together cocoa powder, brown sugar, milk or cream, salt and half of the chopped milk chocolate or chocolate chips. Cook over medium-low heat, stirring until chocolate is melted. Cook mixture at a low boil, stirring occasionally for 5 minutes. Keep a close eye on it so it doesn’t burn. Remove pan from heat, add remaining chocolate, butter and vanilla and stir until smooth. Set aside to cool. Filling will thicken as it comes to room temperature.
Preheat oven to 400 degrees F. Line baking sheets with parchment paper or silicone baking mats.
In a large mixing bowl, combine the flour, cocoa powder, sugar and salt. Add cut cold butter and mix with a pastry blender or your fingers until the mixture is nice and crumbly. Gradually add the water until the mixture is moistened and a dough forms. Place the dough on a lightly floured surface and roll out into an 1/8-inch thickness. Make sure to measure this well otherwise dough will not cook well.
Cut the dough into 6.5 x 4.5″ rectangles. Place a heaping tablespoon (don’t be shy) of filling on half of the 6.5 x 4.5″ rectangle. Fold the un-fudged side over the filling to create a little pocket. Seal the edges by crimping with the back of a fork. Repeat with the scraps of dough until all the dough has been used until all the dough has been by re-rolling and making more rectangles. (Should make about 12 pop-tarts)
Bake the pop tarts for 10 to 12 minutes. Dough will change colors slightly. Make sure it doesn’t look wet before you take out, otherwise it will not be crisp.
While the pop tarts cooling make the frosting. In a medium bowl, whisk the powdered sugar, meringue powder (or egg). Add the vanilla, cocoa powder. Slowly adding a tablespoon at a time of water until frosting is at desired consistency. Stir in the melted chocolate. If your frosting seams too thick, thin with a few more tablespoons of water or thicken with more powdered sugar, working with tablespoons a time.
Once the pop tarts are cooled completely spoon a thin layer of the frosting on top. Frosting will harden in about 10 minutes and then if desired sprinkle with, course salt or course sugar.
Allow pop tarts to harden uncovered for about 2 hours.
P.s. If you have a craving for these keep in mind it’ll be more like 3 hours before you can actually eat these things. 😉
Love the photography? Learn more about how I’m also a portland branding photographer

 Homemade Chocolate Fudge Pop Tarts Recipe
